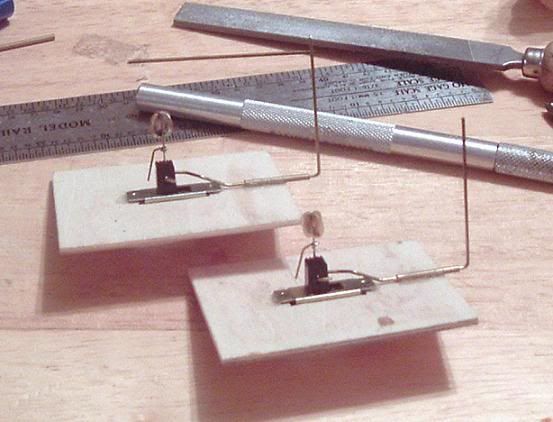
...for about $2 each. Materials needed:
---DPDT switch
---length of KS tubing (the smallest they make)
---length of .020" and .015" KS brass rod
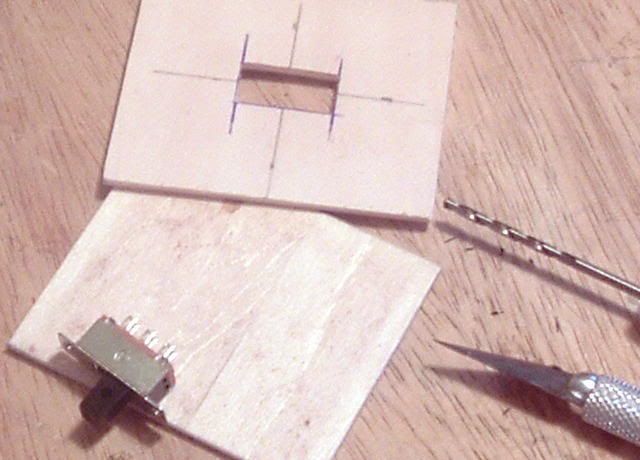
---scrap pieces of 1/8" aircraft plywood
---.010" shim brass
---2 match sticks or Campbell's bridge ties
Wiring any signal work and power routing will be a snap with these. I drilled holes through the nubbins for the throwbars then I made bases out of 1/8" aircraft plywood, cutting out where the switches set. This was necessary because of the foam base material I use on my layout, which doesn't hold up to regular pressure in a small area too well.
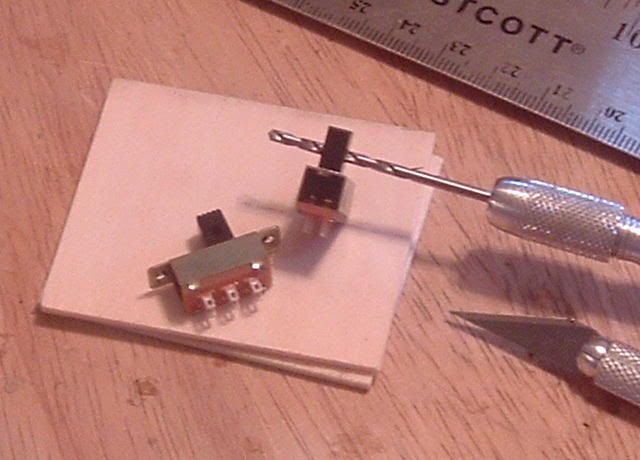
I then glued the switches in place. I corn fangled into center then angle down throwbar thingies from .020" brass rod and sleeves from .030" brass tubing. After throwing the switch towards the sleeve side, I placed the throwbars in their brass sleeves then glued them down. I put a drop of oil in each end of the sleeve to ensure that they don't get glued shut.
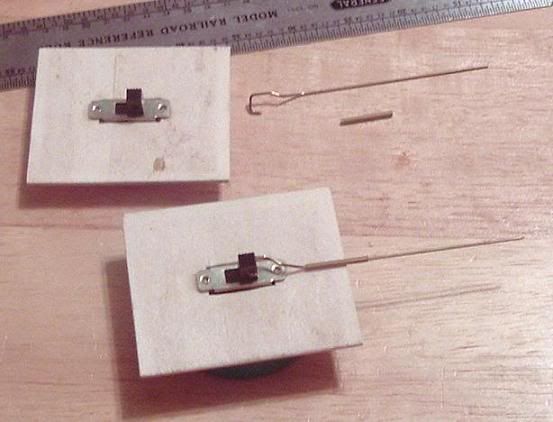
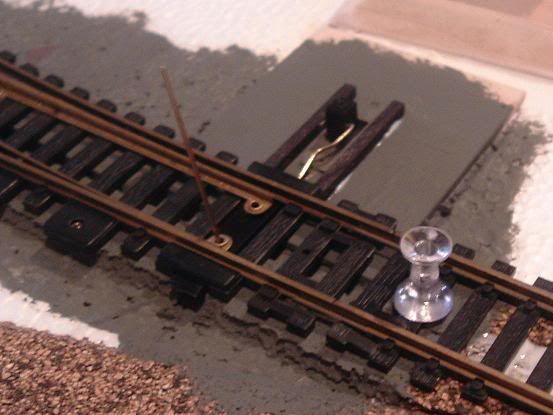
Dummy targets were made with a paper punch, .015" brass wire and shim brass...and several very crispy fingertips...sigh. They are only there for photographic use and pull out for operating the layout. The throwrods are bent upwards 90 degrees and will be then mounted under the switch through a hole in the points.
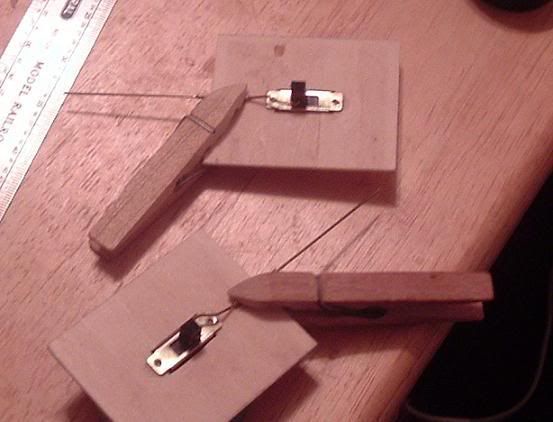
Cut, fit and glue, making sure that they will work before scenery and the rest of the track go in.
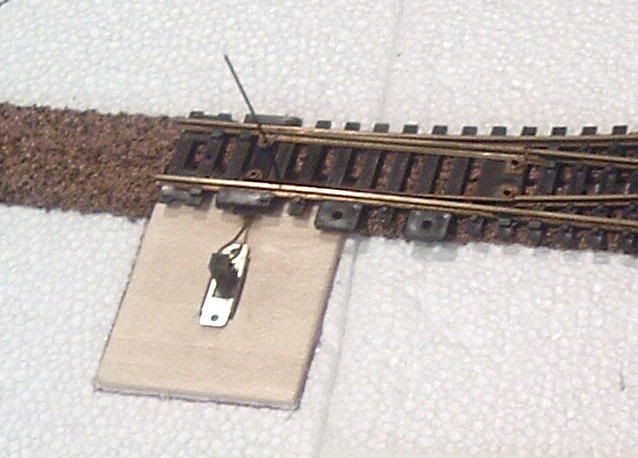

When I mount my turnouts, I first prepaint the roadbed with a dark grey as I don't care for ballasting my points. I can do it but it's tedious work and can make for additional headaches I don't want if not done carefully.
I extended the ties for the switch stands using Campbell's ties stained with a black Magic Marker.


No comments:
Post a Comment